- Docs
- /
Azure Active Directory Authentication
25 Feb 2021 35375 views 0 minutes to read Contributors ![]()
Azure Active Directory authentication
Azure Active Directory (Azure AD) authentication is a mechanism for connecting to Azure SQL Database, Azure SQL Managed Instance, and Synapse SQL in Azure Synapse Analytics by using identities in Azure AD.
With Azure AD authentication, you can centrally manage the identities of database users and other Microsoft services in one central location. Its benefits include the following:
- It provides an alternative to SQL Server authentication.
- It helps stop the proliferation of user identities across servers.
- It allows password rotation in a single place.
- Customers can manage database permissions using external (Azure AD) groups.
- It can eliminate storing passwords by enabling integrated Windows authentication and other forms of authentication supported by Azure Active Directory.
- Azure AD authentication uses contained database users to authenticate identities at the database level.
- Azure AD supports token-based authentication for applications connecting to SQL Database and SQL Managed Instance.
- Azure AD authentication supports:
- Azure AD cloud-only identities.
- Azure AD hybrid identities that support:
- Cloud authentication with two options coupled with seamless single sign-on (SSO) Pass-through authentication and password hash
- Federated authentication.
- Azure AD supports connections from SQL Server Management Studio that use Active Directory Universal Authentication, which includes Multi-Factor Authentication. Multi-Factor Authentication includes strong authentication with a range of easy verification options — phone call, text message, smart cards with pin, or mobile app notification.
- Azure AD supports similar connections from SQL Server Data Tools (SSDT) that use Active Directory Interactive Authentication.
The configuration steps include the following procedures to configure and use Azure Active Directory authentication.
- Create and populate Azure AD.
- Create an Azure Active Directory administrator.
- Configure your client computers.
- Create contained database users in your database mapped to Azure AD identities.
- Connect to your database by using Azure AD identities.
In this article, we will cover first step on how to create and populate Azure AD,
Create and populate Azure AD
- Sign in to the Azure portal using a Global administrator account for the directory.
- Search for and select Azure Active Directory.
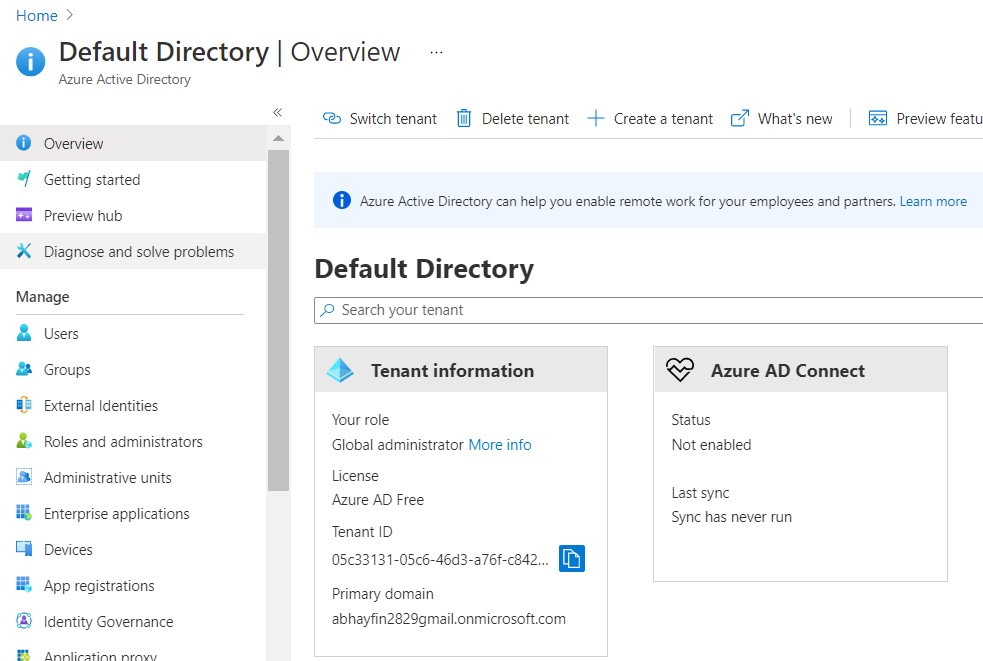
3. On the Active Directory page, select Groups and then select New group.
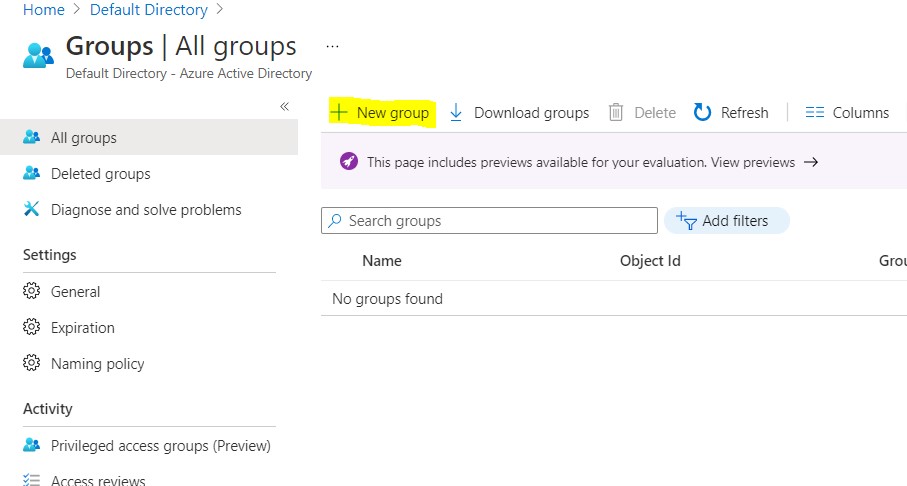
4. The New Group pane will appear and you must fill out the required information.
5. Select a pre-defined Group type. For more information on group types.
6. Create and add a Group name. Choose a name that you'll remember and that makes sense for the group. A check will be performed to determine if the name is already in use by another group. If the name is already in use, to avoid duplicate naming, you'll be asked to change the name of your group.
7. Add a Group email address for the group, or keep the email address that is filled in automatically.
8. Group description. Add an optional description to your group.
9. Select a pre-defined Membership type (required).
10. Select Create. Your group is created and ready for you to add members.
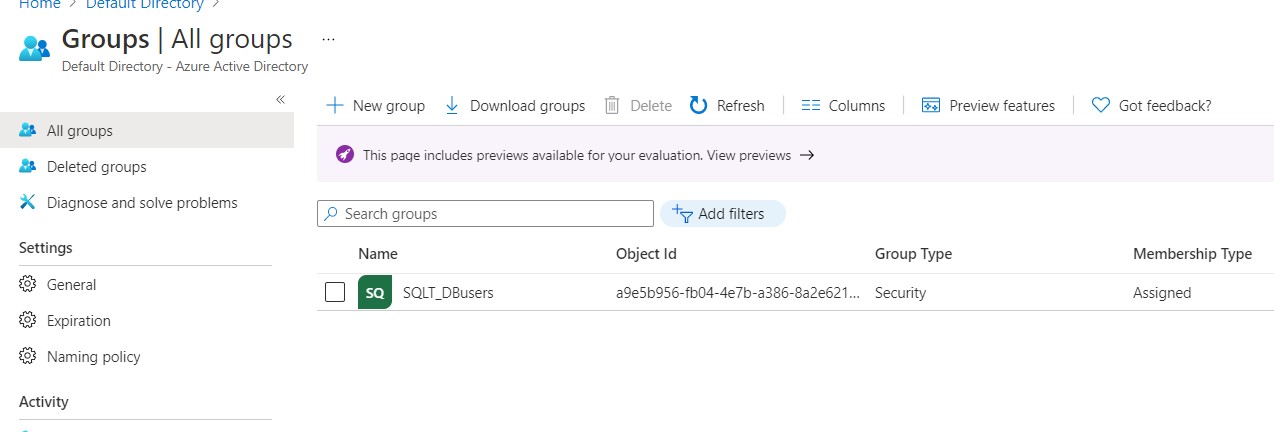
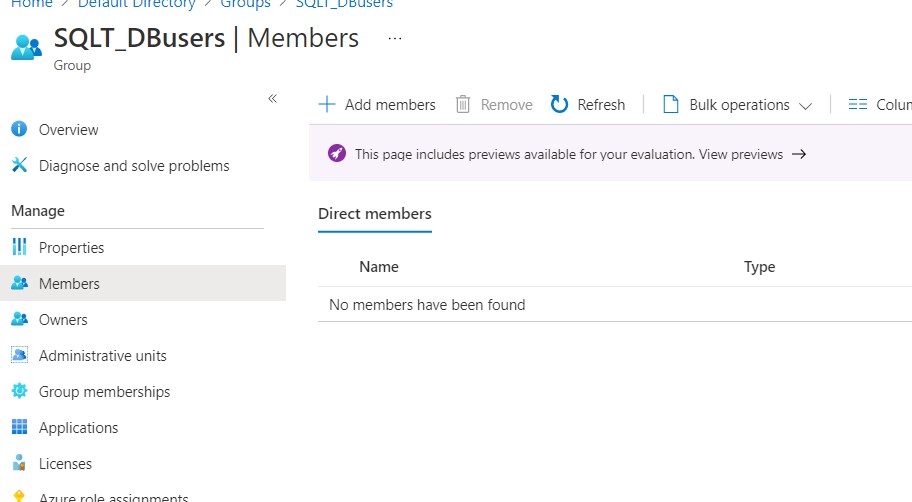
11. Select the Members area from the Group page, and then begin searching for the members to add to your group from the Select members page.
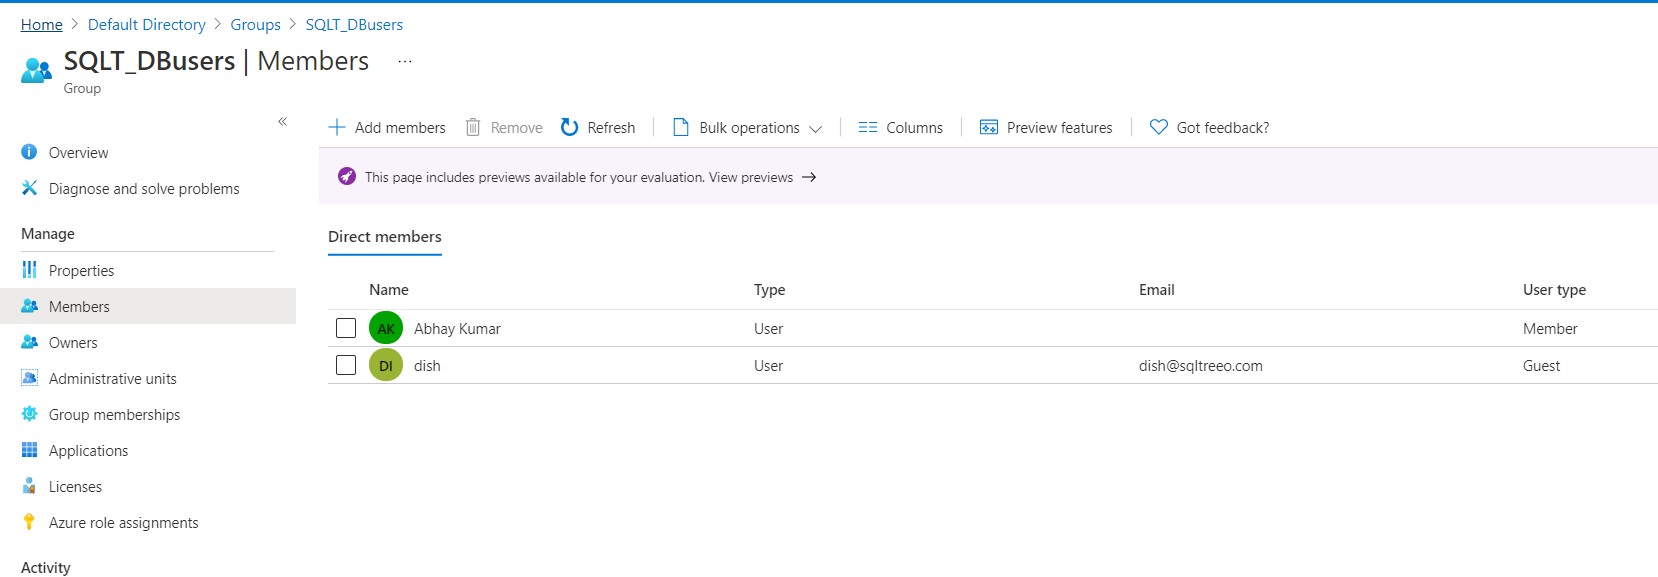
Next Step: Create an Azure Active Directory administrator
In this article
